Easy and Versatile High Hydration Sourdough

Sourdough is not as complicated as many would have you believe. Sure, like any other hobby that one could see blossom into an obsession, you could spend hours and days tinkering and experimenting. But ultimately, it’s just a combination of flour, water, (natural) yeasts, and salt. Once you have a basic recipe and technique/method you’re comfortable with and that consistently produces good results, you can let your creativity flow freely and really get crazy!
One of the things I found stressful and confusing when I started baking sourdough was figuring out a schedule that worked well for me. The below recipe is what I have found works best for me – it’s forgiving. The shorter bulk fermentation and extended refrigerated proof means I can build the dough on a Sunday, and bake the bread in the morning before work, or when I get home, or even later in the evening. I’ve prescribed start/finish times in the guide below, but feel free to adapt to your own schedule.
Try it out and let us see how you do! Tag @1847flours and @chris.a.cooks in all your breadventures 😊
Make sure to read to the end of the recipe to see a few very simple add-in ideas for your dough to take it a step further!
One very important note: Since room temperature plays a huge role in how fast your dough will ferment, it is worth mentioning my room temp is approximately 69F. A good rule of thumb is for every 15f increase in room temperature, the fermentation time will be halved. So if your room temperature is, for example, 77f, I might cut my bulk fermentation short by ¼ of the time prescribed in the recipe. The best thing to do is just keep baking! You will quickly learn to read your dough.
WHAT YOU NEED:
- 925g flour – For this recipe I’ve used 700g Daily Bread (bread) and 225g Rye Humour (rye)*
- 750g water**
- 160g levain (fed and ripe – typically I like to use the levain/starter roughly 4 hours after feeding)
- 19g salt
*I like to add a percentage (~20% usually) of rye flour to all my sourdough mixes as it gives a beautiful robust flavour. Feel free to experiment with different ratios of flour. I also enjoy adding in 1847 Red Fife or Whole Wheat.
**As written, this recipe will produce a dough that is tacky and a bit slack but not entirely unworkable. If you are comfortable doing so, I’ve taken the water in this recipe as high as 850g with great results – but at that point the dough is much trickier to work with and requires some patience and confidence!
9:00AM
- Feed your starter / build your levain, and wait 4 hours.
1:00PM
- Add water to a bowl, then gently stir in levain until completely mixed.
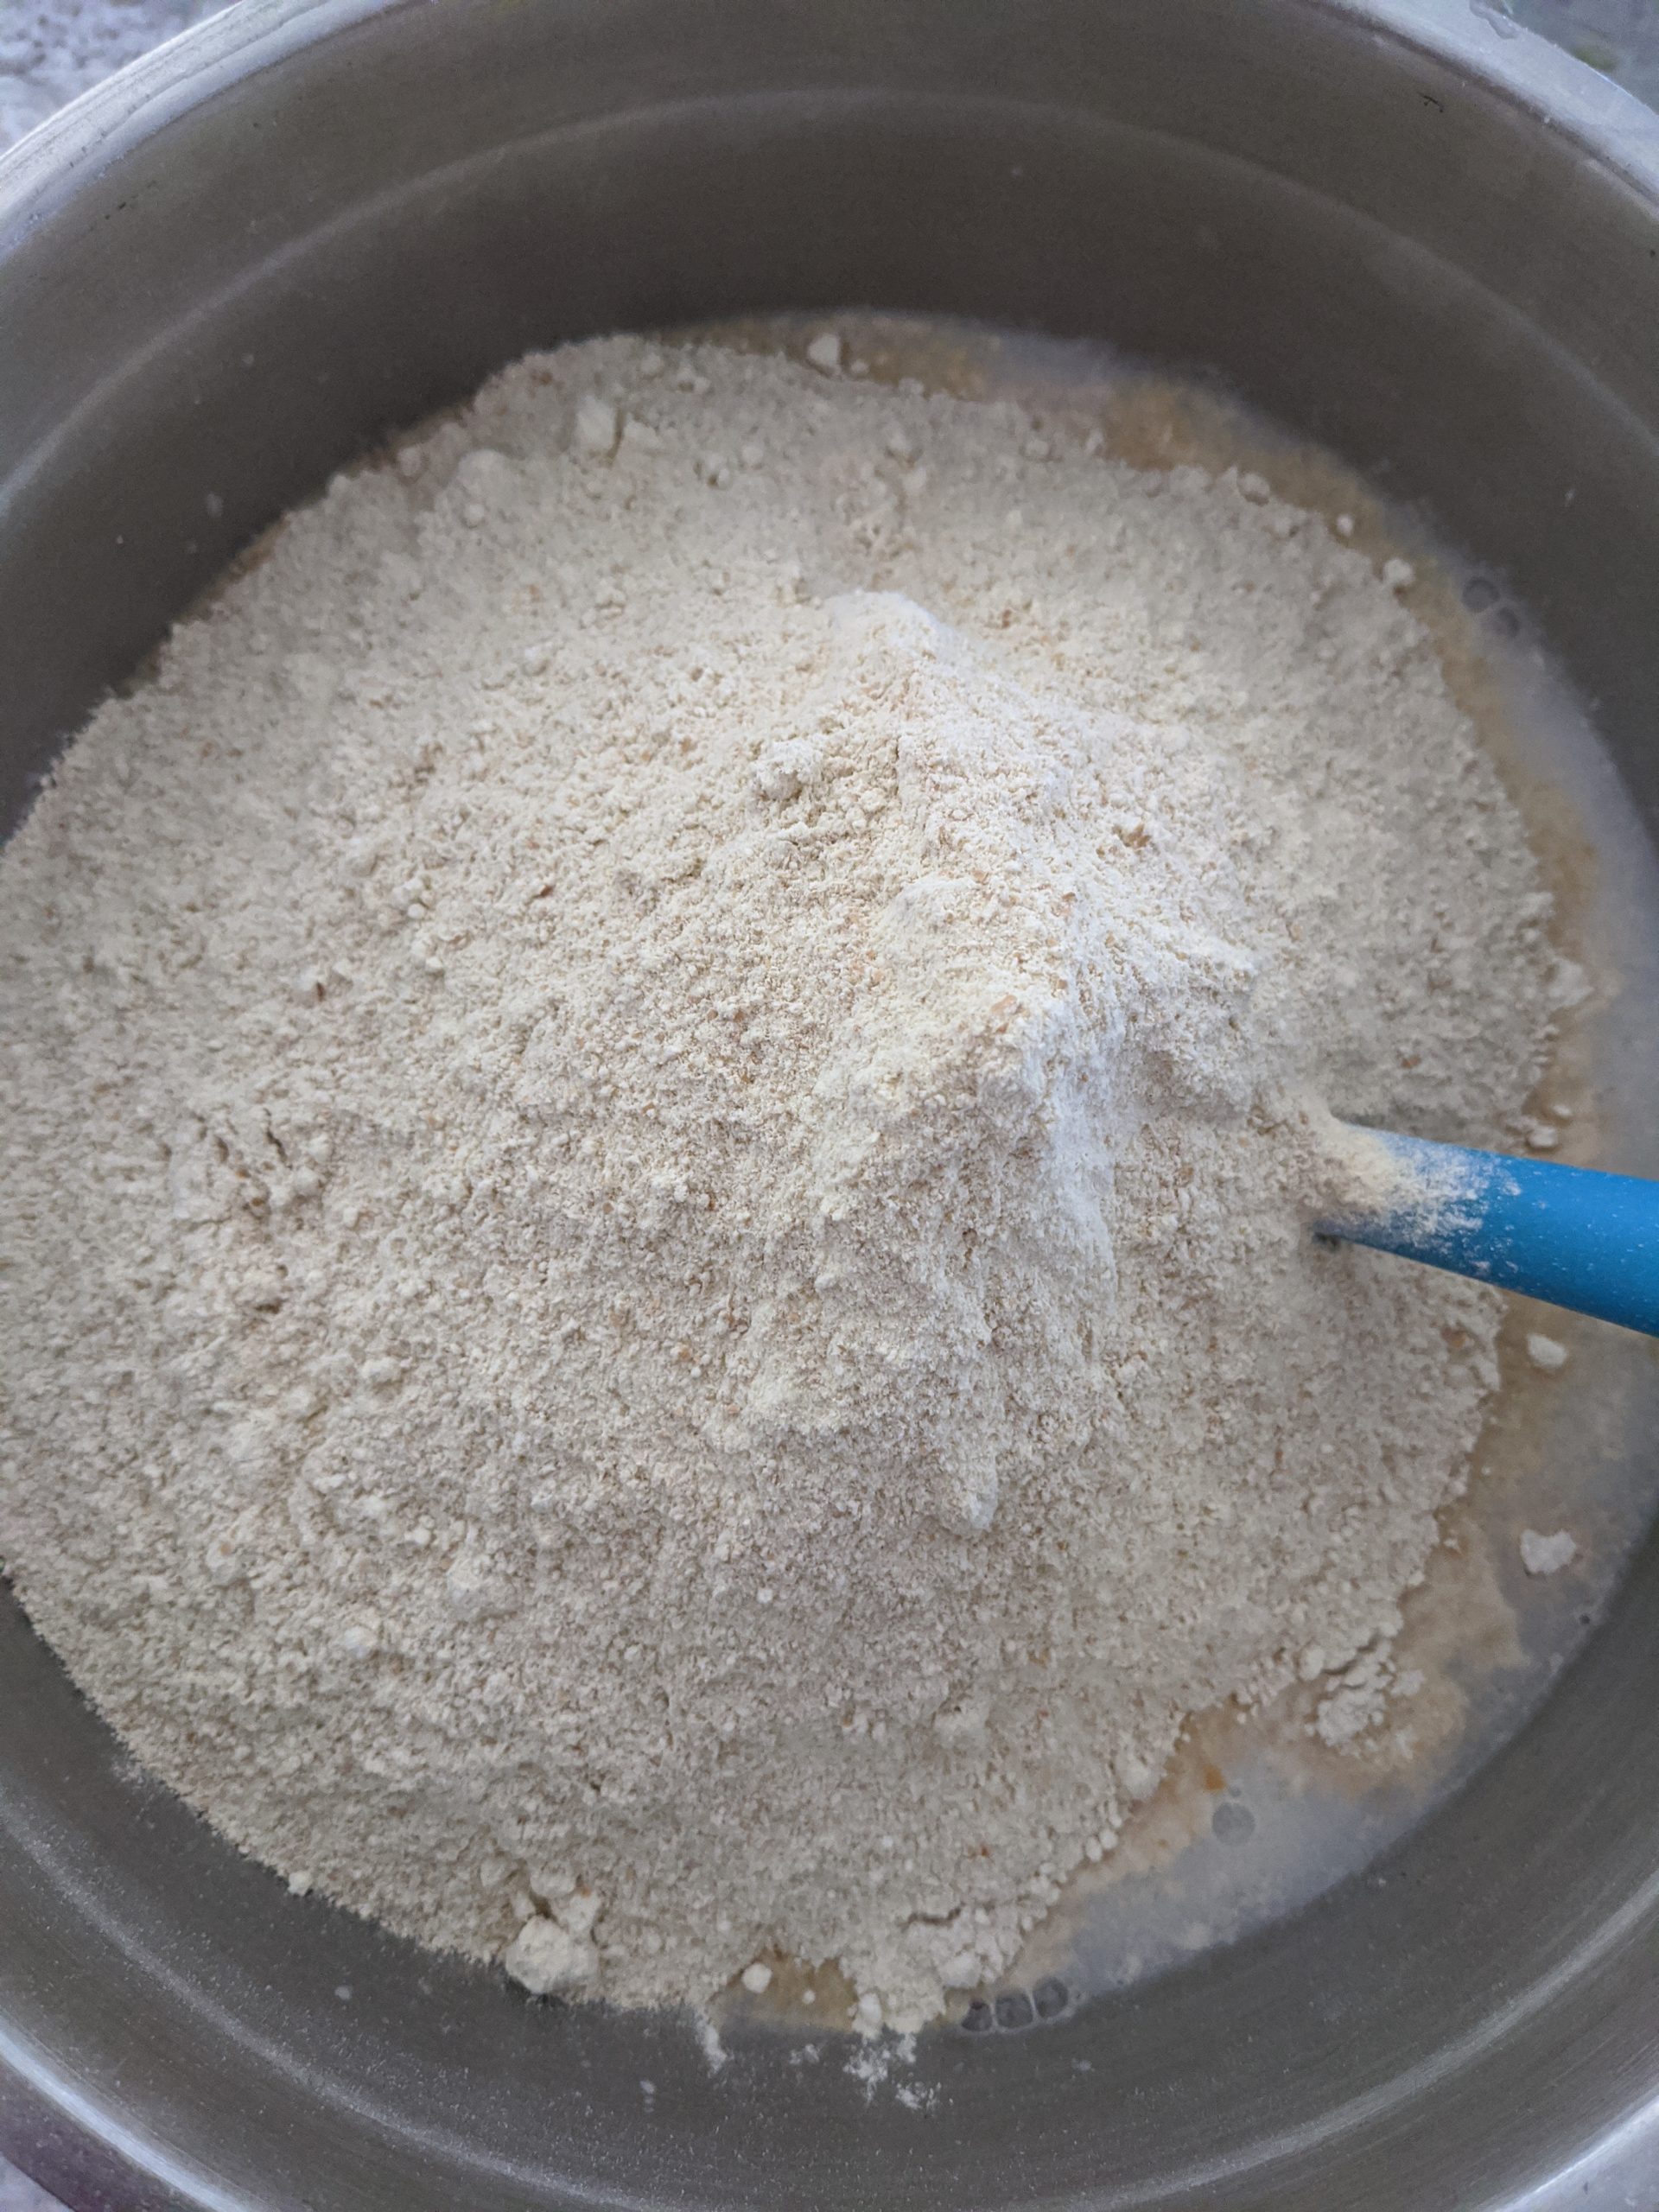
- Mix in flour until it is well incorporated. Keep salt set aside. Cover bowl with a damp tea towel and let rest for 1 hour. This is called the autolyse. The flour absorbs all of the water without being inhibited by the salt.
2:00PM
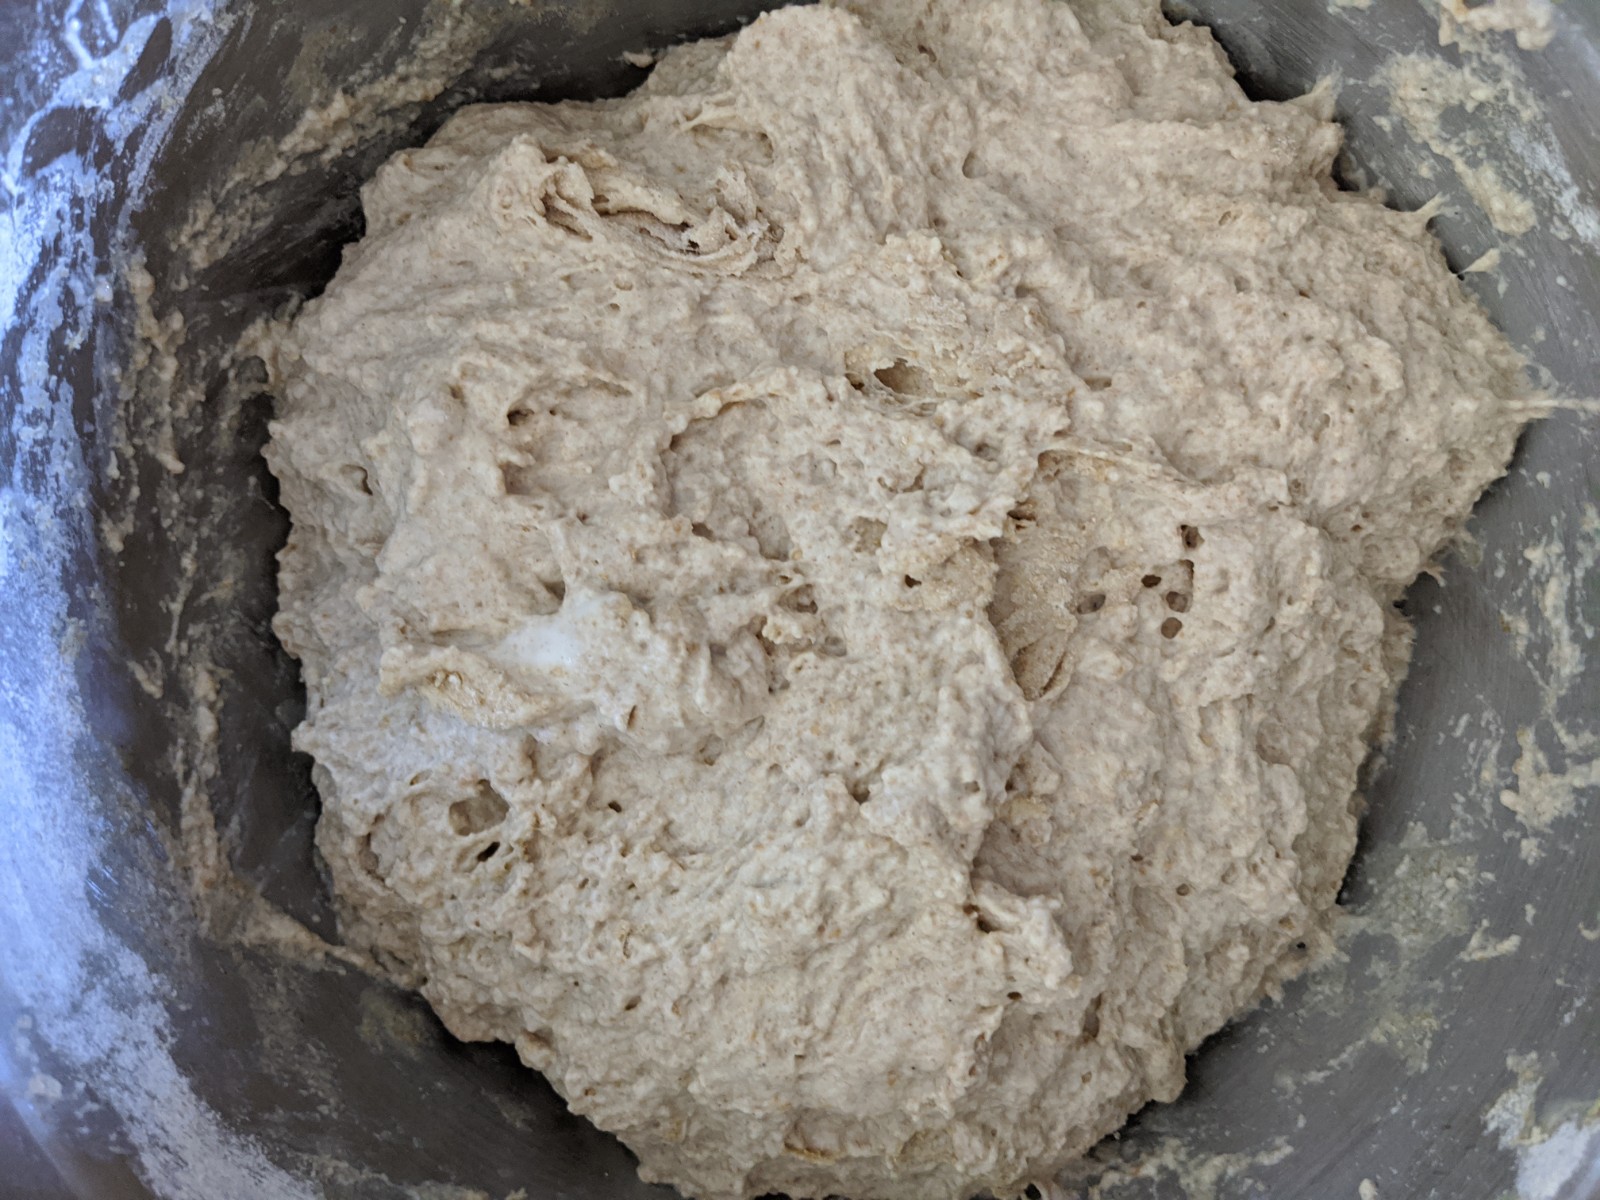
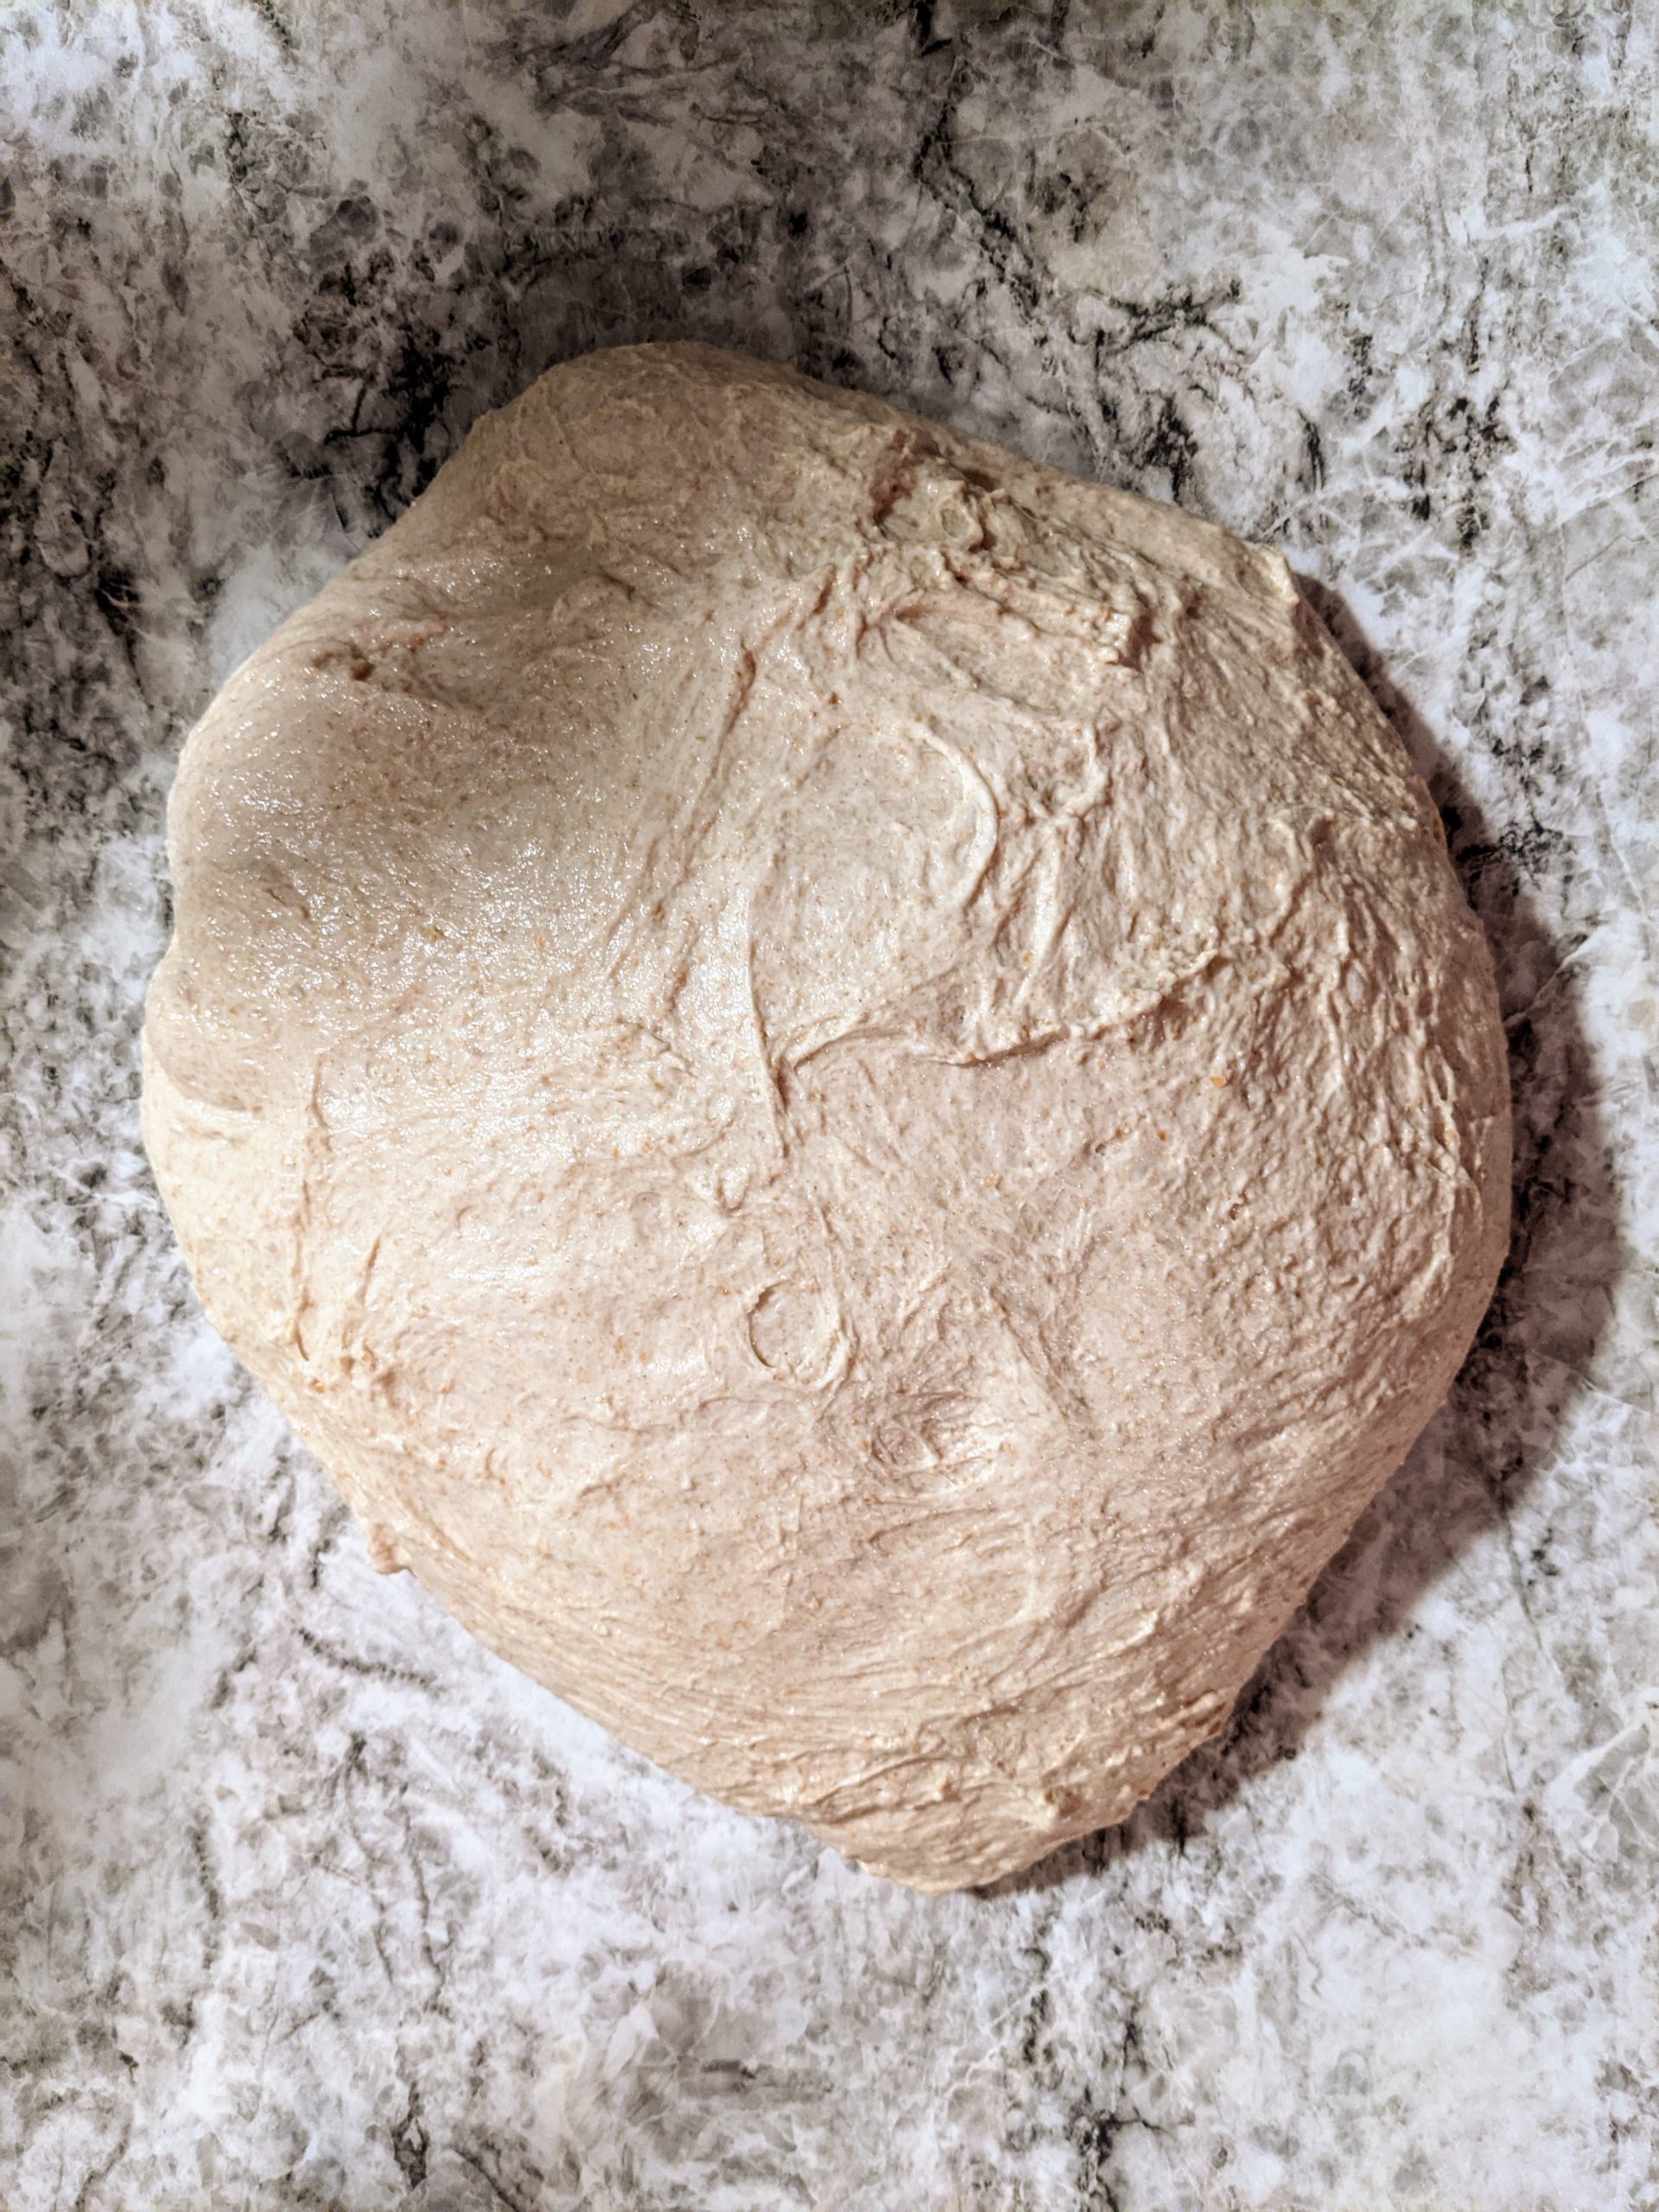
After 1 hour, fold in the salt. I like to dump the salt on top of the dough, then dimple the dough thoroughly with wet hands* like I would a focaccia until the salt has been well incorporated, and then finish with a couple sets of stretch and folds. Cover with the damp tea towel again and set aside.
![]()
*I always wet my hands when handling the dough. If you incorporate a little additional flour with each stretch and fold, and then again when shaping, etc., it will add up quickly and you’ll end up with a net hydration % quite a bit lower than what we are aiming for.
3:00PM
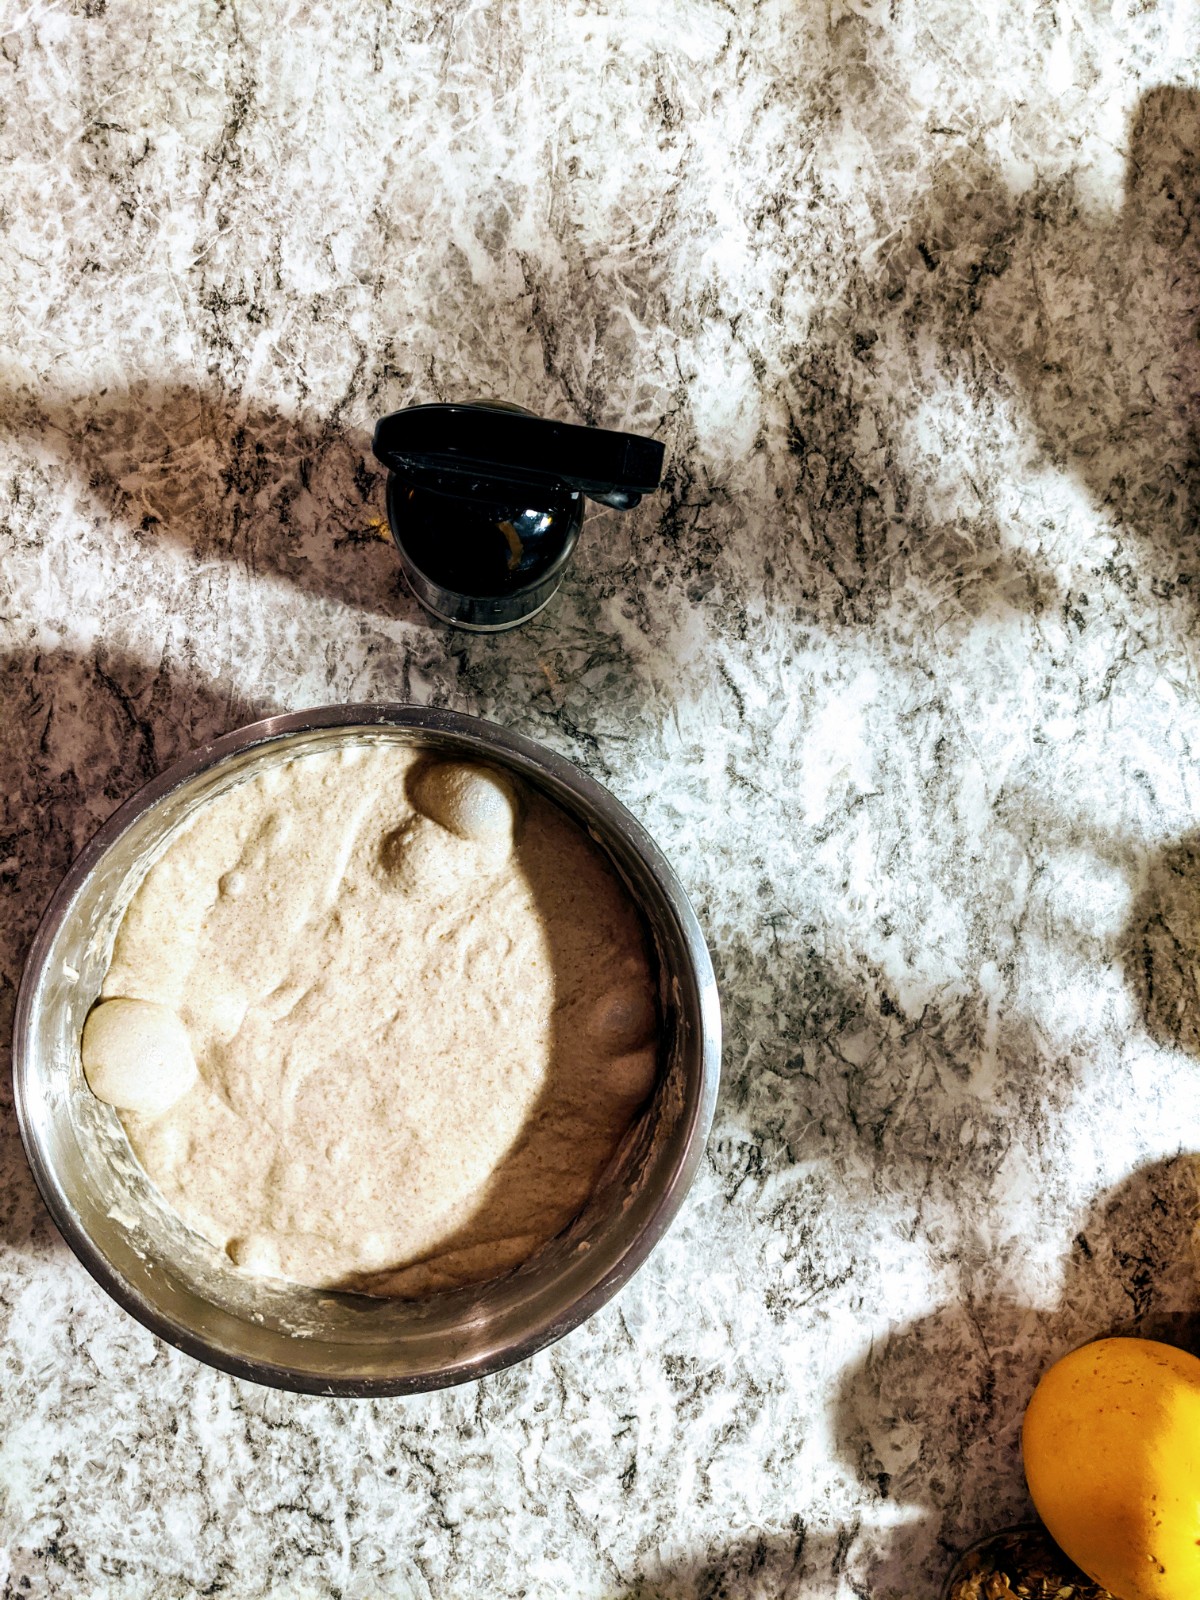
- We have waited another hour – time to do an additional stretch and fold. We are shooting for a bulk fermentation time of approximately 6-7 hours. I like to do stretch and folds once every hour for higher hydration doughs to build up a lot of gluten strength. You can certainly get away with doing only 3 or 4 folds over the entire bulk, though. Always wet your hands lightly for stretch and folds.
If you’re making a dough with add-ins (see end of recipe for ideas/ingredients), the first stretch and fold is when I like to add them in.
- Continue with stretch and folds each hour over the next 4 hours.
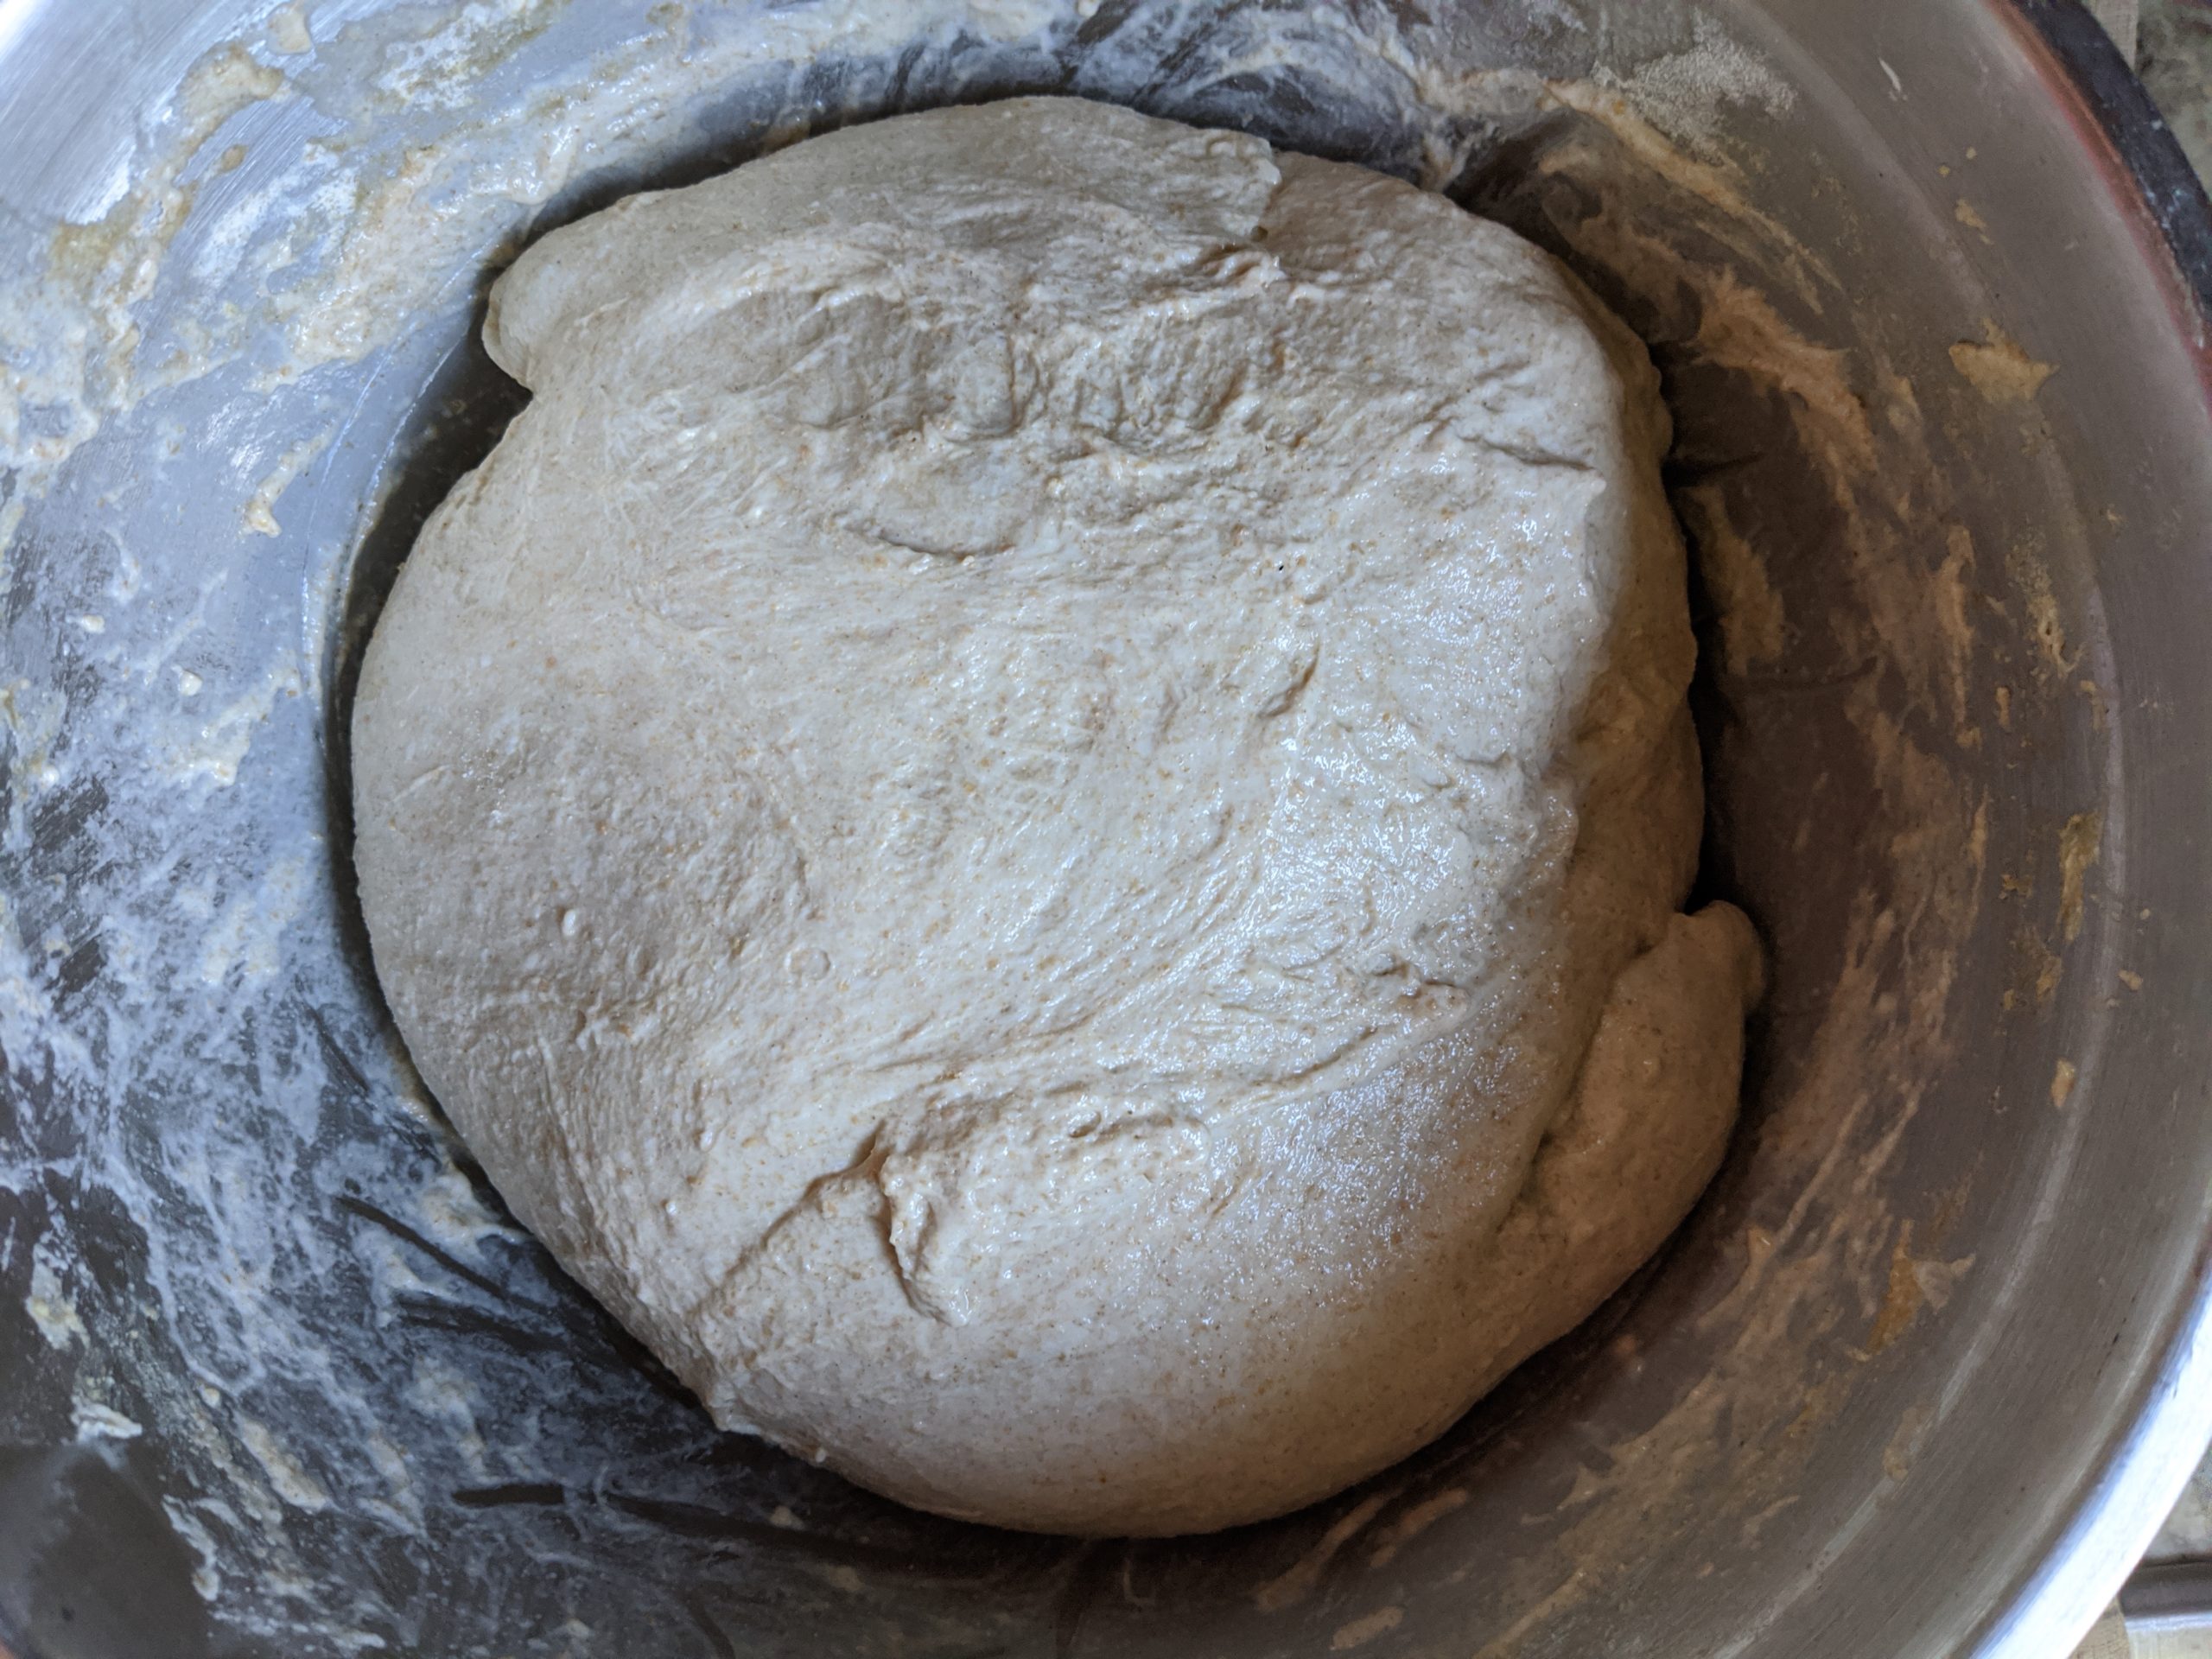
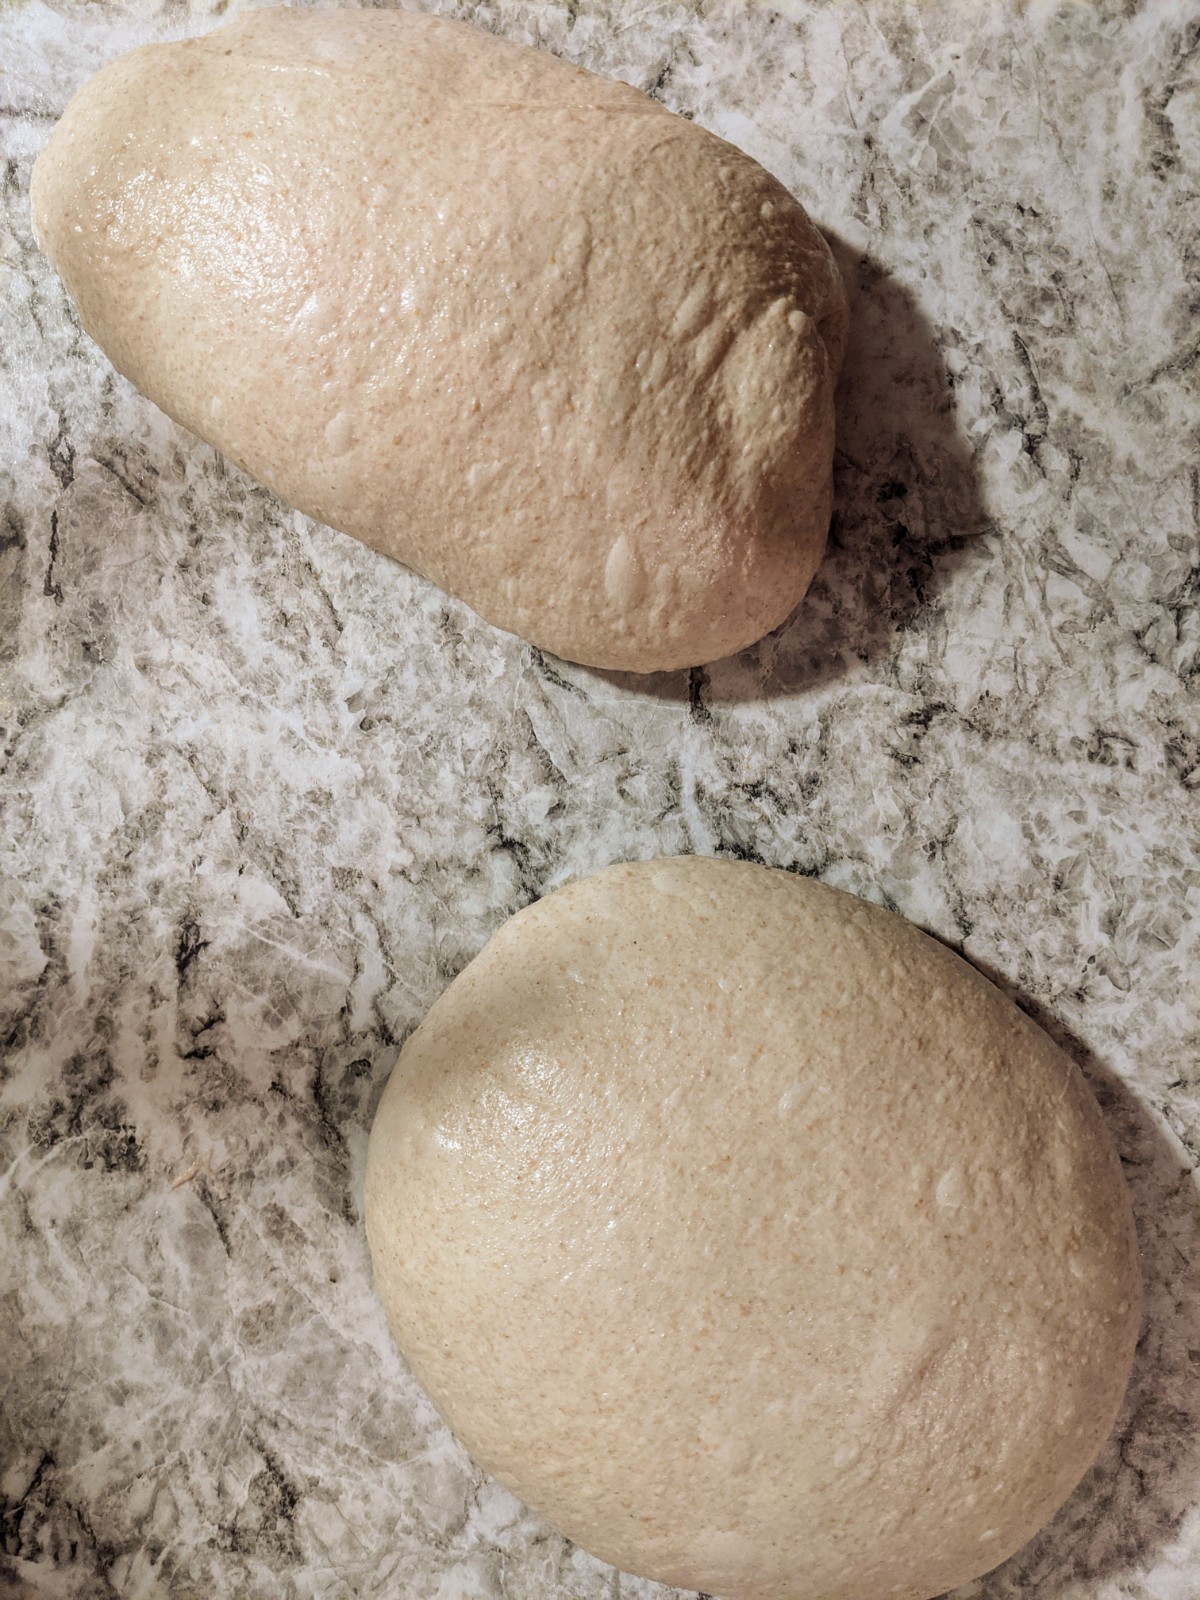
Your dough should look something like this after each stretch and fold.
7:00PM
- Using a spritzer or just flicking your fingers, wet your countertop very, very lightly – just enough so that your hand smoothly glides across the surface. We’re not going for WET, just misted.
- Using wet hands, coax the dough on to your work surface. Using a bench scraper, divide into 2. No need for weighing, just try and get them as even as you can for uniformity’s sake.
- Let the two doughs rest (this is called bench rest) for 20 minutes.
7:30PM
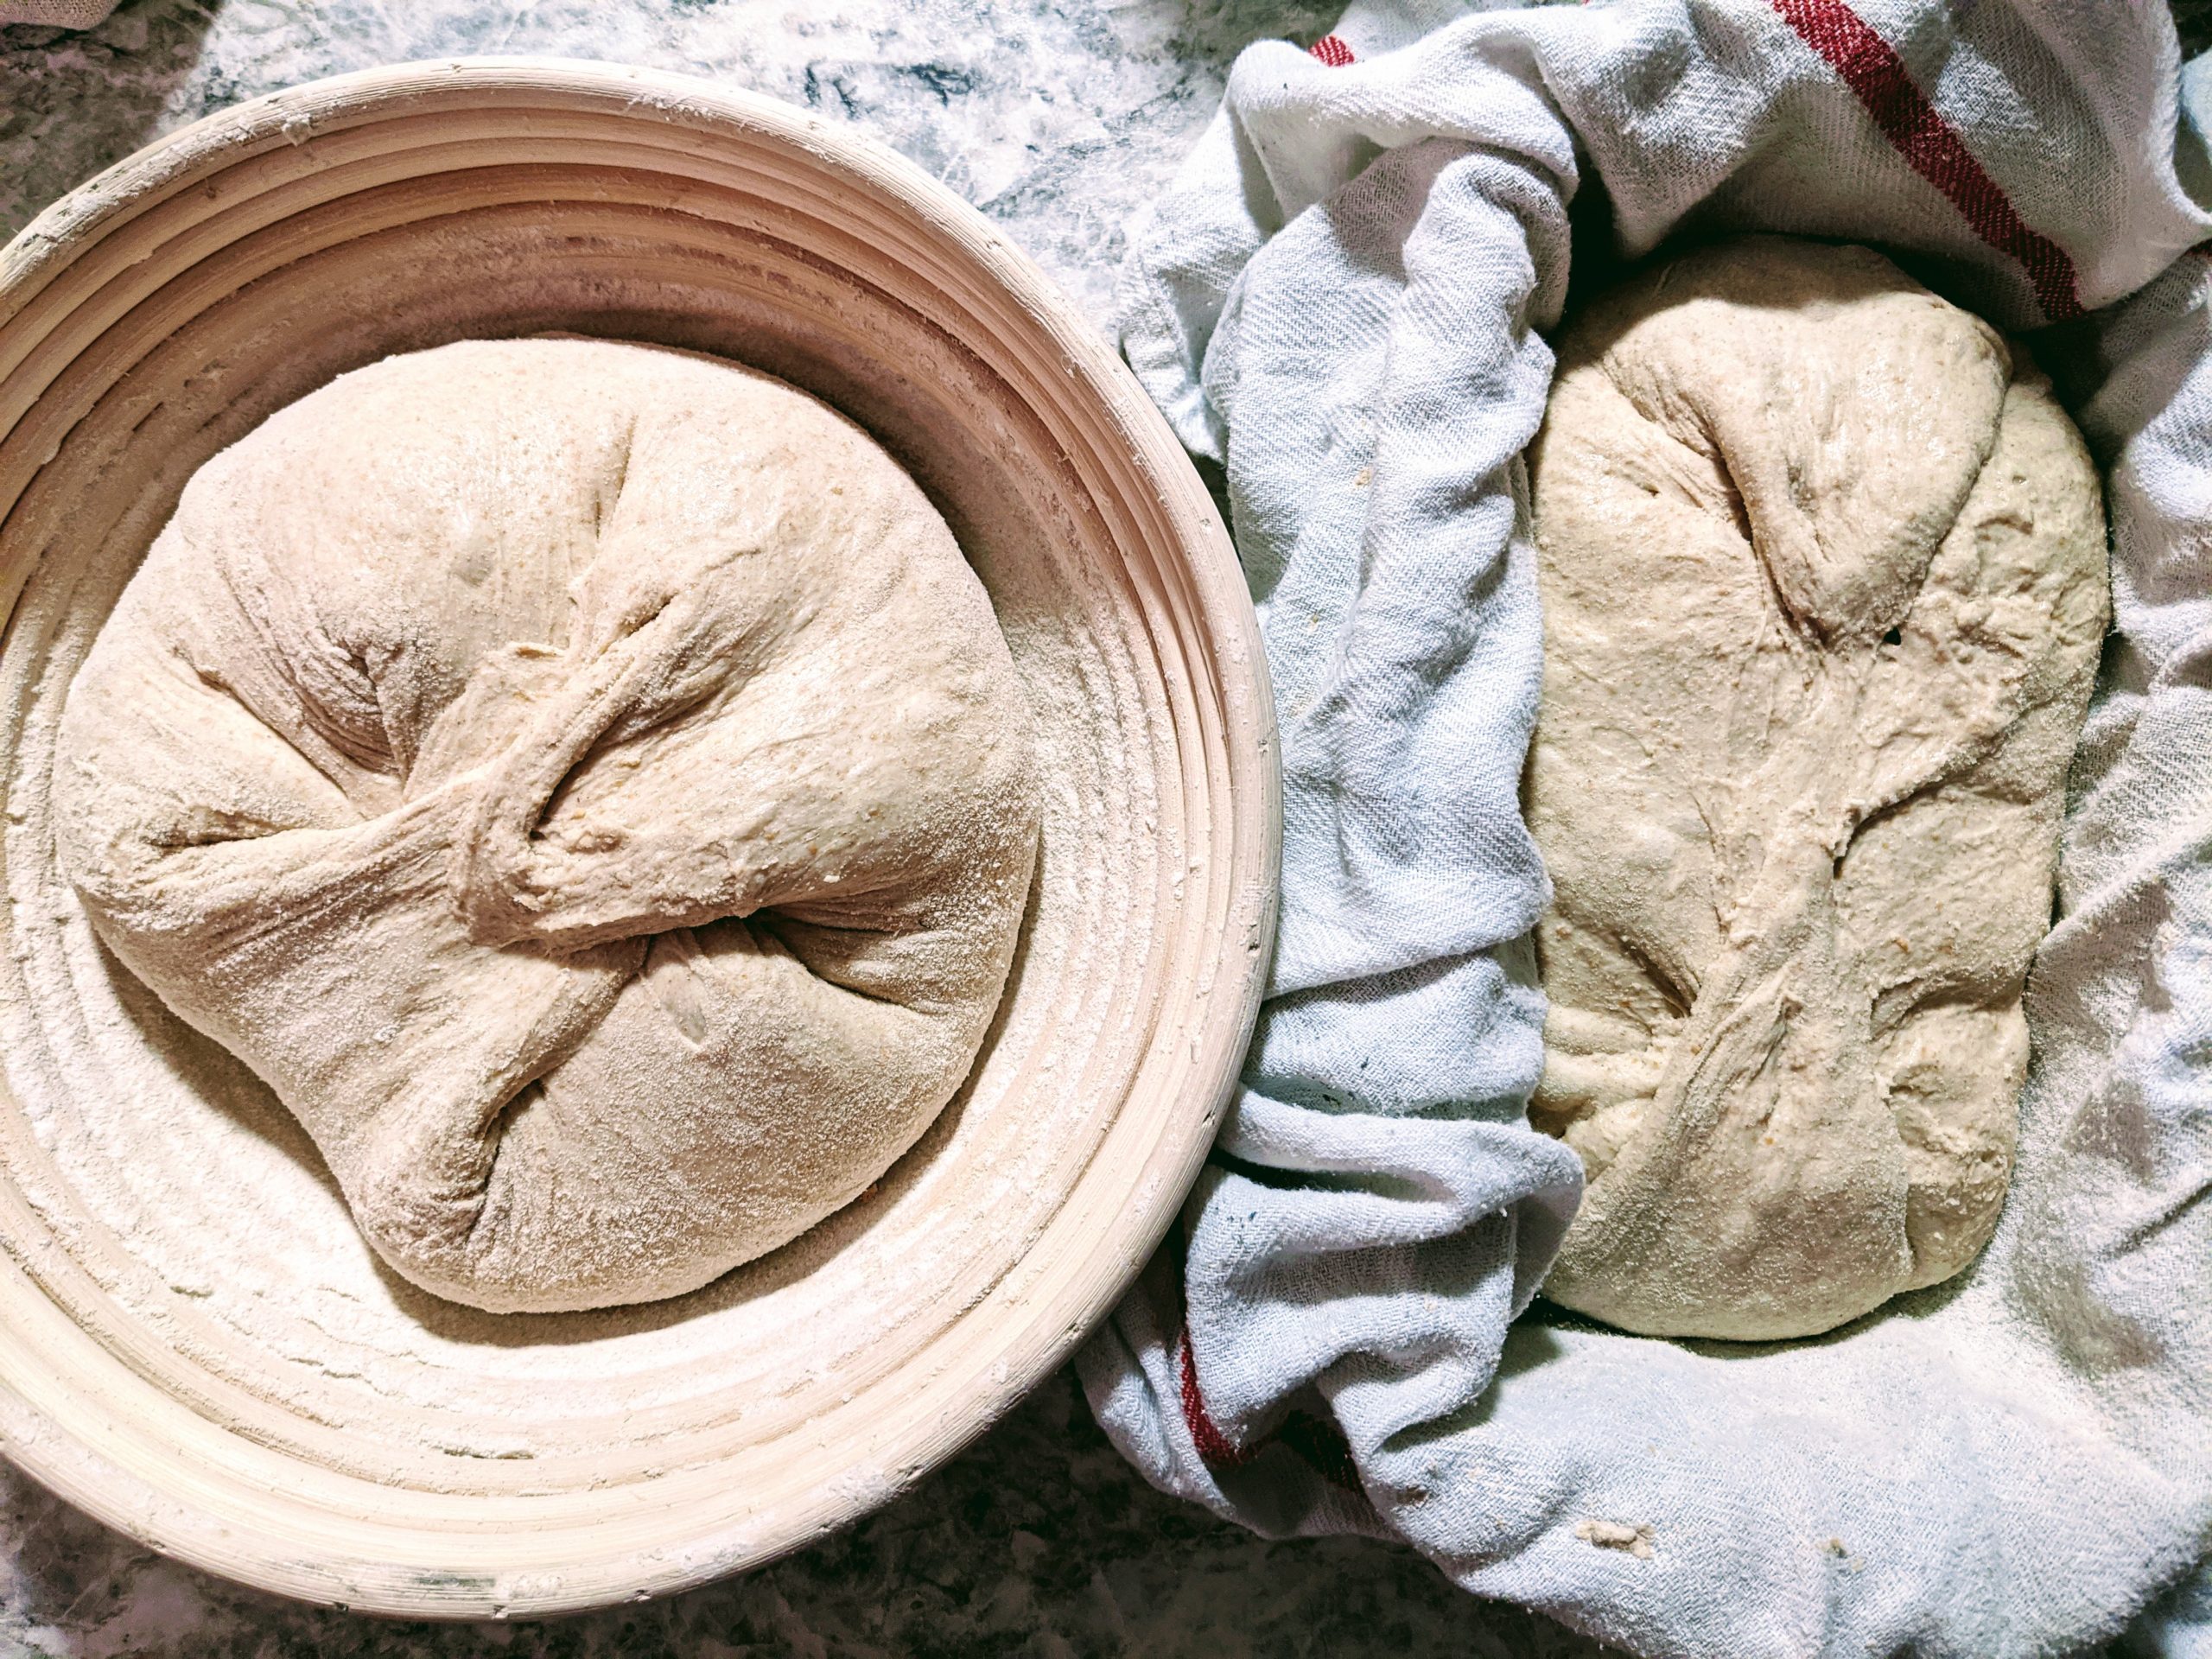
- Shape doughs – you’ll want to shape your dough according to your proofing vessel – ie if you’re using an oval banneton (batard), shape into a cylinder-ish dough. For a round banneton (boule) shape into a round dough. Everyone has their own technique for this, but find one you like and that works for you. My process is similar to a stretch and fold – stretch out dough, fold top down, fold sides in, then stretch the bottom up over the whole thing and roll on to its backside, so that the seams are on the bottom. Using a bench scraper or your hands, roll the dough toward you and from side to side while the bottom resists, sticking ever so slightly to the counter, to get the surface taught and to get the dough into a nice tight shape. If you find the dough is sticking too much to the counter, you may spritz some additional water – or – at this point, a little bit of flour won’t hurt either.
- Flour the tops of your doughs and the inside of your proofing baskets liberally with flour. I use brown rice flour, but you can also use AP or whatever else you have handy. If you don’t have a proofing basket, I use a bowl lined with a tea towel which I flour even MORE liberally so I don’t get any sticking. Sticky dough + tea towel = bad time.
- Using a bench scraper, lift the dough carefully and place in the proofing vessel upside down (that is, floured side down, SEAM SIDE UP). Pull the edges in and pinch them down to help the dough keep its structure. Flour the tops of the doughs lightly.
- Cover with your proofing basket linen or the loose ends of the tea towel, kiss your dough babies goodnight, and place in the fridge.
The Next Day
- Place a dutch oven with the lid on in your oven and preheat to 500F. I like to place an upside cookie sheet under the dutch oven which I find helps prevent the bottom of the loaves from getting too dark.
- When the oven is close to temperature, place a piece of parchment paper on your counter and take the first loaf out of the fridge. Carefully invert your proofing vessel and place the dough on the parchment paper. Score the top of the dough with a lame, razorblade, sharp kitchen shears or sharp paring knife. One big slit right down the center works well, or you can look at ideas online and get creative!
- When the preheat is complete, take the dutch oven out of the oven, remove the lid, and carefully (don’t burn yourself!) place the dough on the parchment in the pot. Lift up the side of the parchment (again, carefully) and spritz lots of water underneath the parchment paper. This will help generate lots of steam.
- Place the lid back on the dutch oven and place in the oven. Immediately turn the oven off and back on again, this time to 475f. Doing it this way prevents the oven elements from re-heating to get the temperature back up, which can result in burned-bottom loaves. Set the timer for 20 minutes.
- When the timer is up, open the oven, remove the lid (THIS IS THE BEST PART), and then close the oven door. Turn the oven off, then on again, this time at 435f. Set the timer for 25 minutes, and bask in the aroma that is freshly baking bread.
- When the timer is up, remove the bread from the oven and place on a cooling rack. TRY TO RESIST SLICING INTO IT IMMEDIATELY. Place the empty dutch oven back in the oven, lid on, and re-set the temperature for 500f. Repeat with the second loaf.
- Let each loaf rest at least 1 hour (good luck) before slicing into it.
TIP: An unsliced loaf of sourdough bread will keep fresh for several days on your counter. Re-baking the unsliced loaf for 15-20 minutes at 400f will give you a warm loaf as if it were just baked.
MODIFICATIONS & ADD-INS
Some ideas for additions and modifications to the dough. Once you get comfortable with a basic recipe – have some fun. Add in nuts, seeds, dried fruit, replace flours with others, the possibilities are endless.
Pizza dough? Remove rye flour, split the 925g of flour into half bread flour, half AP, drop water to 650g, and add 20g olive oil. Knead dough by hand or w/ mixer instead of first stretch and fold. For shaping, shape into 6 small balls and place on a baking sheet covered with plastic wrap for proofing.
Cinnamon Raisin – Soak 160g raisins in water, 1tbsp honey, 1tsp vanilla extract, drain raisins thoroughly before mixing in. During first stretch and fold, add in brown sugar (as much or as little as you want depending on how sweet you want the bread, I usually do 1/3 cup) and cinnamon.
Caraway Rye with Molasses – the flavour most people associate with rye (think pastrami and rye) is actually caraway. Keep recipe as is, but during first stretch and fold, mix in 12g caraway seeds and 100g molasses.
Olive Parmesan – Keep recipe as is, but during first stretch and fold, mix in as many olives and as much parmesan as you want!


